
Many of us have spent some time in the last few days unwrapping things. This post is about packing things up. The first of today’s enclosures is a variant of one I used in Greystone Secrets. I am about to make a batch as part of the final stages of my swap book. It is a 3D envelope like the one on the left below.
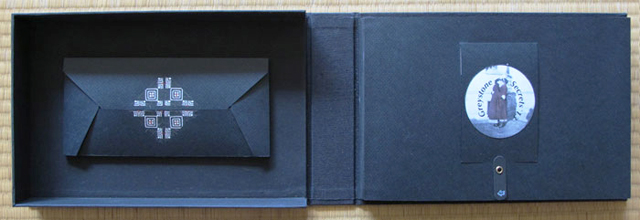
The structure takes its inspiration from a traditional origami bar envelope,
 but is a cut-out structure that allows for the thickness of the contents.

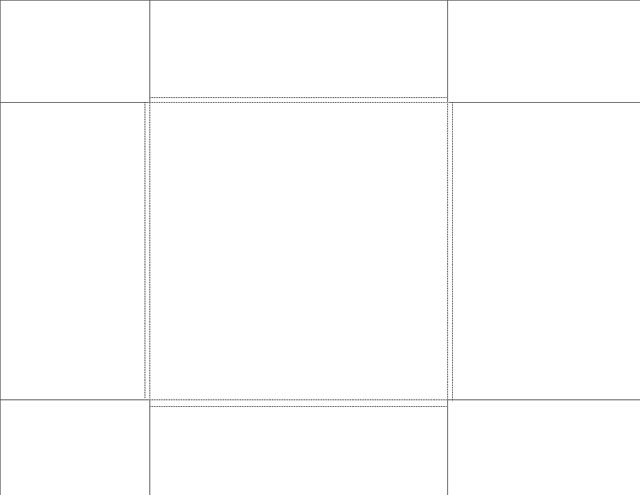
You can download a printable PDF here. This particular envelope was designed to make maximum use of an 8.5 x 11 inch sheet of 67# cover stock.

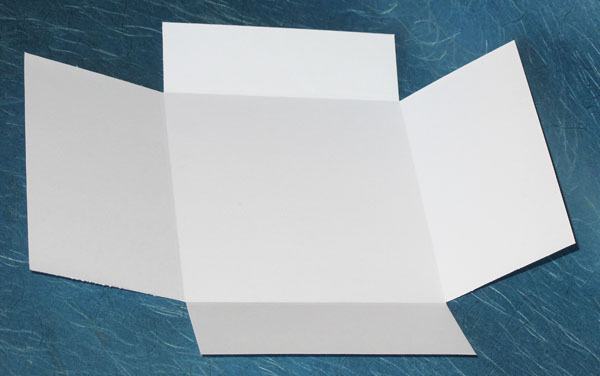
After printing, score all the dashed lines. Please note that these locations are approximations based on the material I was using. (See * below.) Next cut along the solid lines. Valley fold all the dashed lines. I have marked an approximate location for the cutting lines, but as the exact location may vary slightly with the paper or card stock used, you can do what I did to mark the location for the cuts precisely. Fold the envelope closed starting with the top (uncut) flap, then the bottom, then the two side flaps. Lightly mark the top flap (with a pencil or scoring tool or awl) just inside the points where the side and bottom flaps intersect. Unfold the envelope and mark a point on each side of the top flap a half inch (1.25 cm) away from the fold line. Using the two marked points on each side as guides, cut your flap. (The cuts will be close to the dotted lines.) Close your completed envelope bottom flap first, then sides, then tuck in the top flap. Voila!
This enclosure can be varied in a number of ways: you can make the shape wider and shorter, or narrower and taller. You can make the envelope deeper, though there is a limit to how deep you can go before the structure becomes unstable. Much depends on what paper/card stock you have available and what you wish to enclose. *Just remember that the hinge depths are not all the same. The bottom hinge must be deep enough for the contents. The side hinges must allow for the content plus the thickness of the bottom flap. The top hinge must allow for the content and the thickness of the bottom and side flaps.
And now the pop-up CD case.
You can, of course, fold a CD case from a single sheet of letter paper, but when I saw this on the web I thought it was clever but could be improved. (The design is from Mucho design studios. You can see another variation here which I found when tracking down the designer while writing this post!)
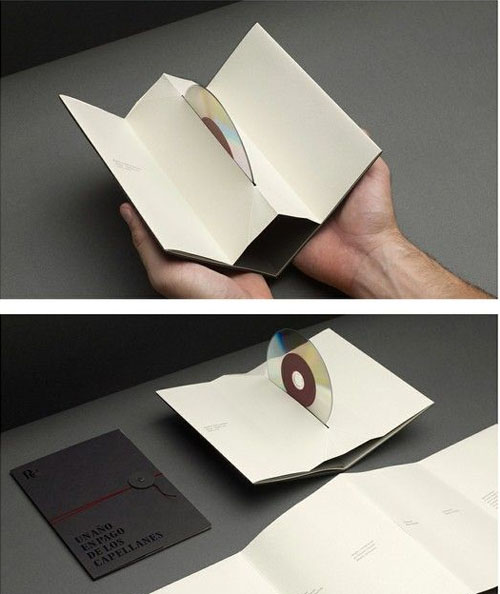
I thought it would be better if the outer page opened flat and the inner page remained folded to hold the CD.


I have made a PDF of the three parts of the holder and case which you can download here.
The three parts consist of a folder,

an inner holder,

and a wrap cover.
Follow the steps from the 3D envelope, just noting that the inner holder has two valley folds and a mountain fold. The center slot is cut easily with the mountain fold closed. You just need to notch the ends and make one cut through the two layers.
Please note that as these are all printable on 8.5 x 11 inch paper, the inner holder will not reach to the outer edges of the folder. If you are using this size of paper, make sure that folds A and B are glued one inch on either side of the center line of the folder. (I used a piece of 80# text stock that was 12 inches wide.) If you think the case will be used a lot you may want to make wider hinges (the case will be taller instead of square), or reinforce the hinges.


The tab for the wrapper was made from one of the offcut corners. The folder could be glued into the wrapper, or sewn through the fold before gluing on the inner holder. Cut and score as indicated. All markings are indications rather than absolutes, variations in materials causing inevitable differences. The advice that I gave for the 3D envelope about sequential folds being deeper holds true for this wrapper as well.
While this is not as elegant as Mucho’s final product, it is easily made out of readily available materials. Printed with your own design and text, or decorated by your child, it would make a lovely keepsake CD for holiday pictures.

Thanks for sharing all the instructions! Interesting CD packaging, very interesting. I will have to experiment a little with this in the next days! And I very much like your variation.
You casually mention a swap book, obviously I have missed something – have you mentioned a swap before? Sorry if that is obvious. – I miss the book arts forum’s swaps. Well, I miss the book arts forum, but it seems dead beyond revival…
LikeLike
I too miss the book arts forum and its swaps, but it seems to have run its course.
I was at the swap today and will post about it later. The pyramid box was also part of my book.
LikeLike
Pingback: Four Flaps, Three Ways | Byopia Press
Pingback: How to make wax paper/crayon ‘stained glass’ hearts and a little bit about books | Byopia Press
Pingback: A Pocket Placard | Byopia Press