This week the Minnesota Center for Book Arts posted a ‘make along’ video with instructions for producing a “Hidden Page” book.
You can find the twenty minute video here. To follow along, you will need to have ready the following materials and tools:
1x – 8½ x 11 in. sheet of paper cut in half lengthwise to 4 1/4x 11 in.
2x – 2 11/16 x 4 1/4 in. sheets of paper for hidden-page inserts
2x – 3 x 4 ½ in. sheets of paper 0r card stock (for covers, optional)
pencil, scissors, glue stick (for covers, optional), bone folder (or popsicle stick, table knife, or ruler), additional scrap paper for gluing
If you would rather see a very short set of step-by-step instructions designed for those who already know how to fold a piece of paper, I have created one.
You will need the materials described above. If you are starting with A4 paper, your sizes will be different.
1x – A4 sheet of paper cut in half lengthwise to 105 x 297 mm
2x – 74 x 105 mm sheets of paper for hidden-page inserts
2x – 75 x 106.5 mm sheets of paper or card stock (for optional covers)
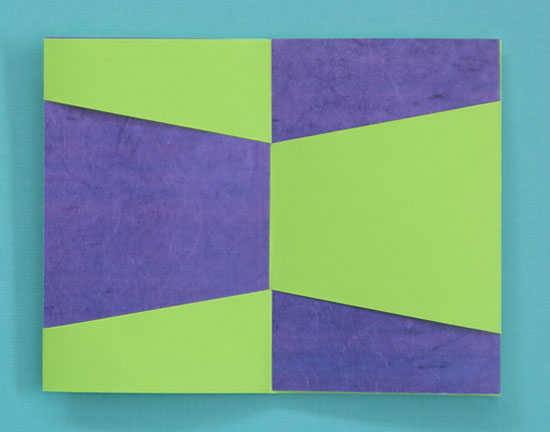
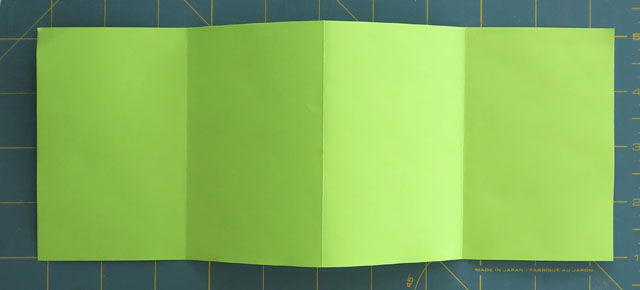
Fold your long strip of paper in half, then fold the ends in to match the centre fold. This is the simplest accordion book there is. (We are ignoring paper grain for the model, but if you are making a ‘final’ version it is best to use paper that permits you to have the length of grain parallel to the folds.)
Open flat, then re-fold in the middle. With the folded edge at the right, cut slits through both layers from the visible central fold to the right hand edge. Your cuts can be parallel, or angled, or curved. You need at least two cuts.

Slide your pre-cut hidden-page inserts into place in the two central pages of your accordion book. Where the insert on the left is under the main paper, the insert on the right should be over.
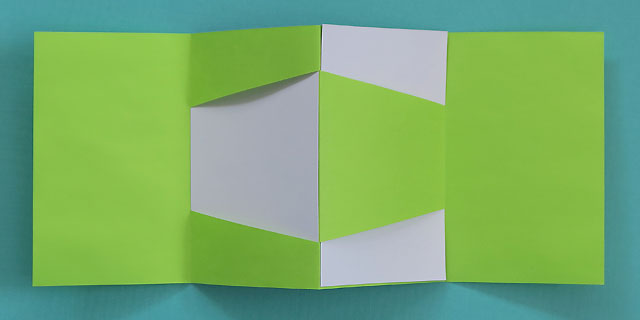
If you have used a paper for your inserts that is different on its two sides, the hidden-page spread will be quite noticeable.
If you are gluing on covers, match one edge to the spine and allow the same amount of cover paper or card above and below the body of the book.
Since this structure is a form of Jacob’s Ladder, like the Magic Wallet, it can be used to perform a simple magic trick. Start with the book closed. Show your audience the book by opening it and turning the pages one at a time. They will see the central page spread —the pages with purple in my model. Close the book again, then open by pulling the covers directly away from one another to open the book flat. The central (purple) pages will have disappeared.
When I saw that MCBA was posting an instruction video for a hidden-page book, I thought it looked familiar. I went back to a post from Blue Roof Designs to try and track down credit for the original designer of the structure. Unfortunately Elissa Campbell can’t remember where she learned it. If you would like to make a hard-cover version, her instructions can be found here. She also made a video showing her version in operation.
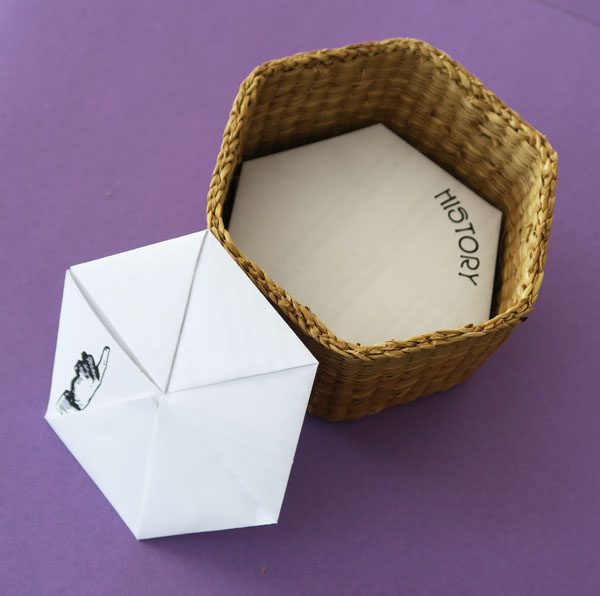
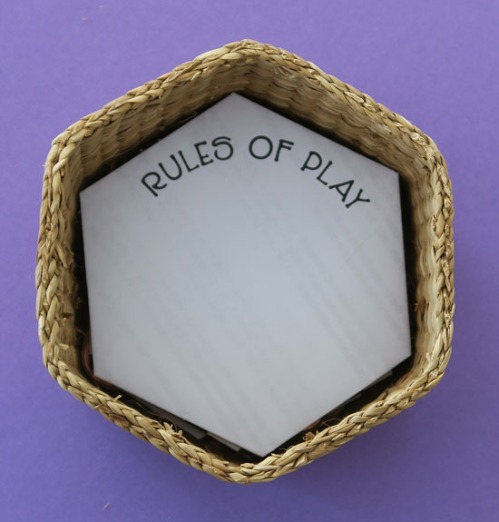
A good part of last week was spent finishing all the parts of my contribution to #areyoubookenough_hexagon. Here they are, in descending order, from the closed basket down to the bottom layer of coins.
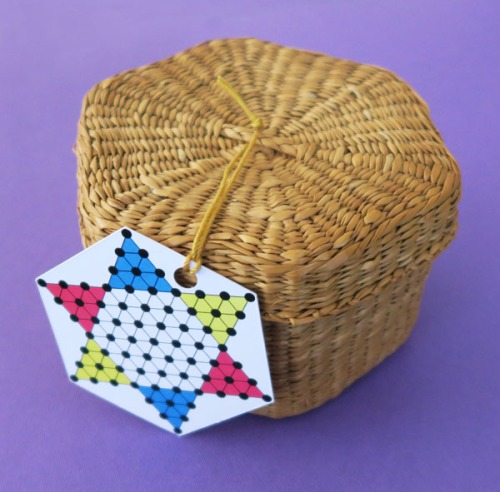

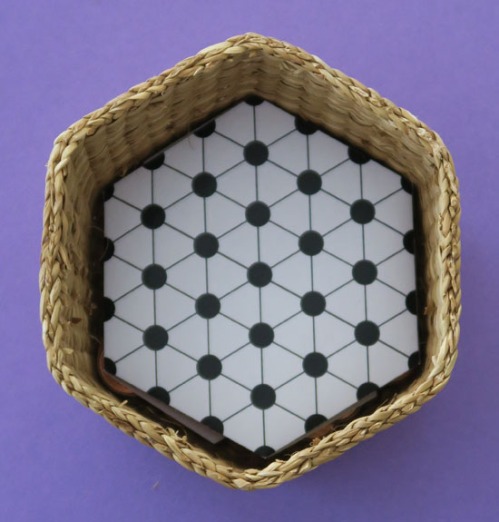
The board for the game was trimmed, slit, and folded to fit the basket.
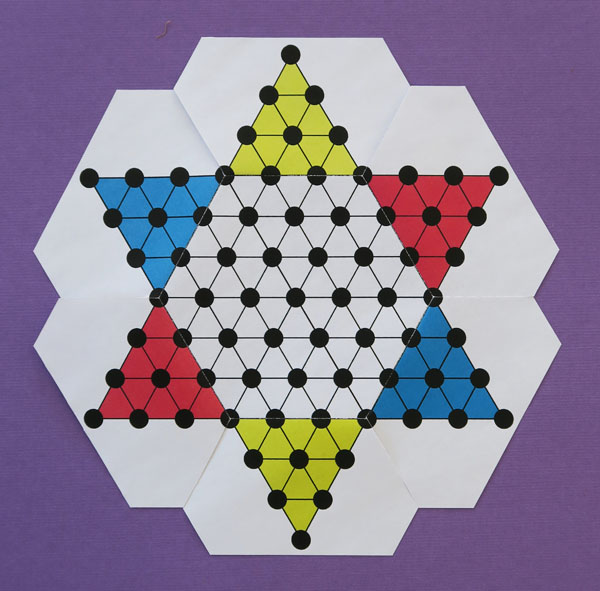
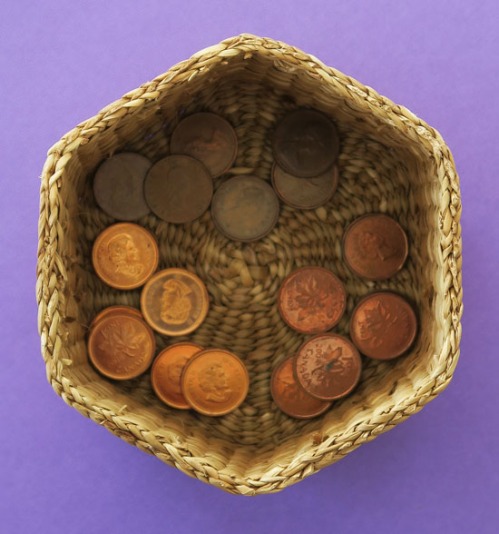
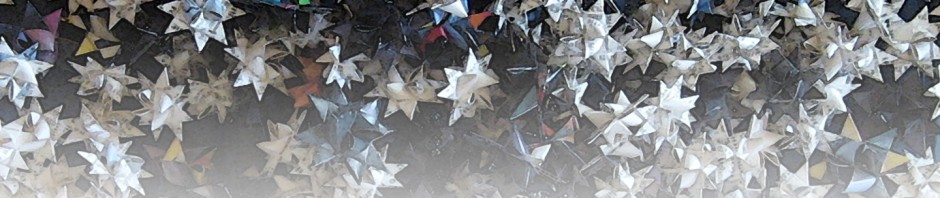
I discovered that our penny collection has three distinct colours! Presumably this reflects changes in the composition of the metal used in their production. They are a bit large for the board. If I had had had a bit more time I would have folded some Chinese Lucky Stars for the playing pieces.
It took me a while to work out the positions for the pointy finger and the text on the outside of the hexagonal letter fold. (You can find instructions for the fold here.)
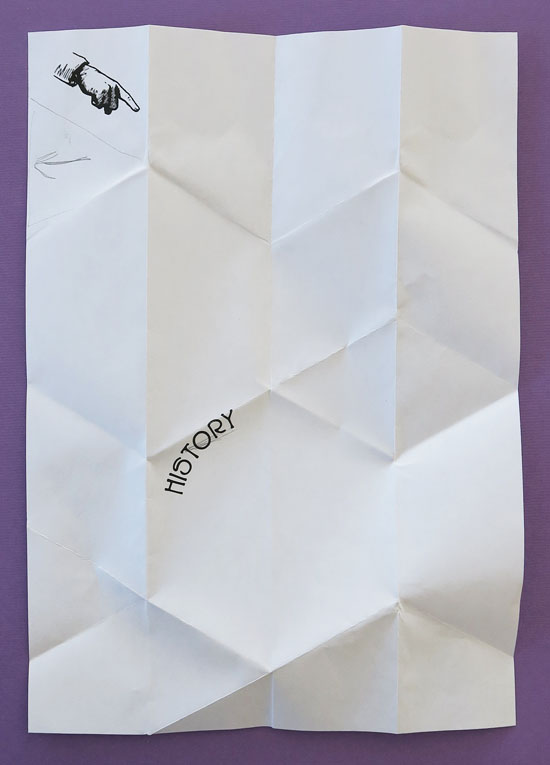
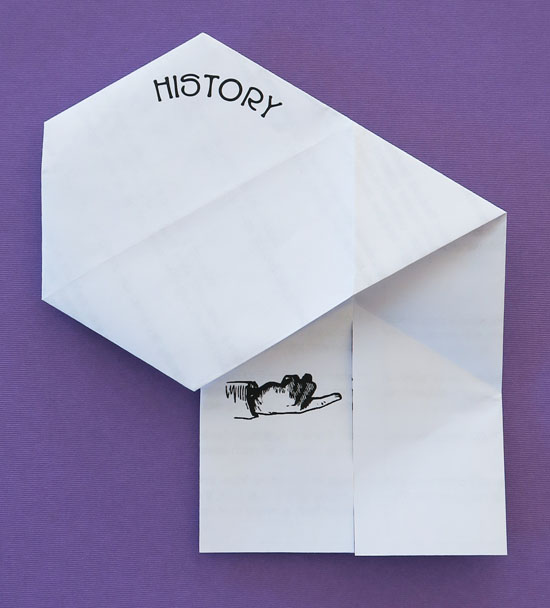
The History text is an excerpt from Wikipedia and the Rules of Play are a compilation from several Internet sites. My Story is a short reminiscence about playing Chinese Checkers as a child.
I also started working on the April challenge: #areyoubookenough_machine. I have been looking forward to this one. I downloaded a file from iris-calculator.com and printed it out on several pages of coloured card stock.
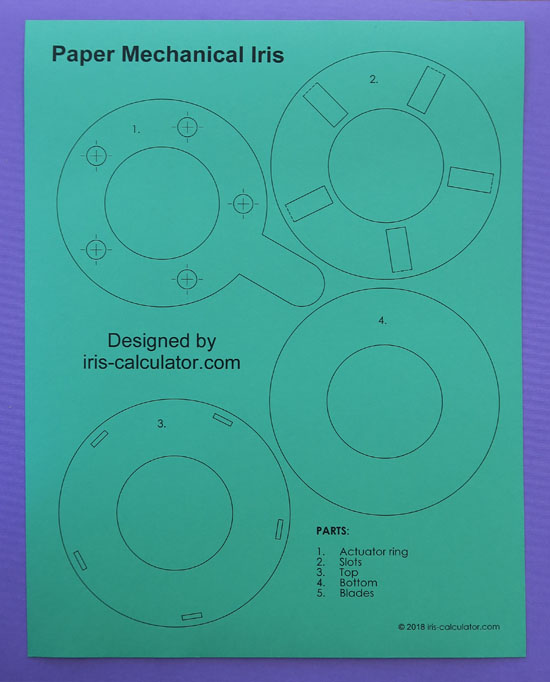
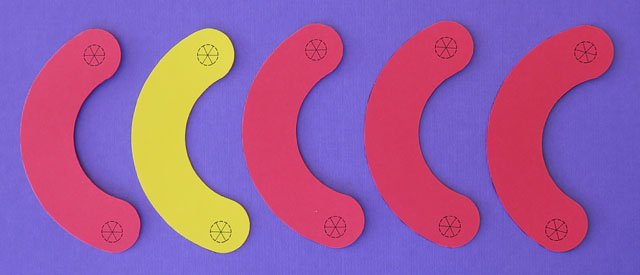
I have finished cutting out the parts I need.
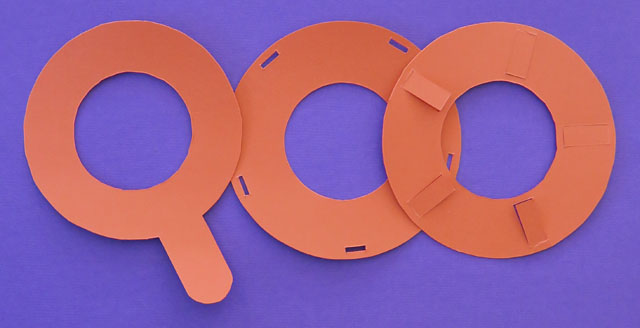
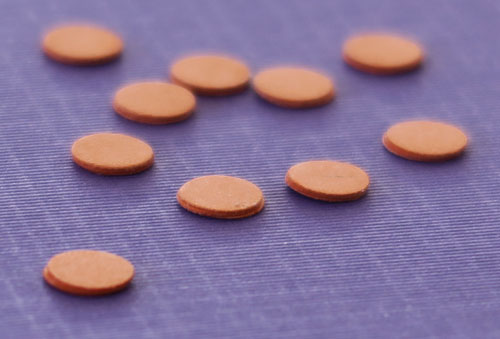
To make the mechanism more durable I made card stock ‘posts’ to substitute for the connecting system suggested by the designer.
My intention is to use the mechanism as part of a tunnel book. The parts I have made so far may end up just being a model, since the mechanism may need to be sturdier. I’ll find that out this coming week when I assemble the iris.
In other news:
If you would prefer colouring to making a hidden-page book, The Public Domain Review has put together a free, printable colouring book.
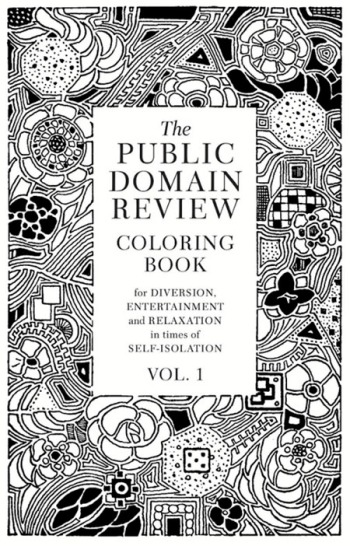
You will find the link for the download here.
