My mother was trained as a teacher. When I was a child, school boards would not hire married women. (Shocked gasp from younger female readers.) The idea was that married women were supported by their husbands and should not be competing with men —possibly married— in the job market. Since my mother specialized in teaching the lower grades, and loved teaching art and music, I had some real advantages over my peers. My sister and I got to do lots of things at home that would otherwise have been restricted to the art room at school. One of those things was making paste paper. Well, my mother called it “finger painting”, but the principals and materials were the same.

We used a special coated paper and cooked wheat paste with tempera paint, but I have since learned some more sophisticated refinements.
I like cooked wheat starch paste as the base. I use the same recipe as I do for making paste for bookbinding:
1 part wheat starch
4 parts water
Whisk together and cook, stirring constantly, over medium low heat until desired thickness.
I buy the wheat starch at a Chinese grocery store where it is extremely cheap. It keeps forever, apparently having so little nutritional value that mice and insects and moulds display no interest in it whatever.
When using the paste for paste paper I add 1 part PVA (cheaper than acrylic medium) so that the finished paper is somewhat water resistant and the surface is less prone to rub off. Colour from a variety of sources —acrylic paints, inks— is then added. If you are interested in experimenting with different recipes, there is a collection of them here.

My mother taught me to ‘stretch’ the paper first by wetting it out and letting it relax and I still do that. I use a 10 cm (4 inch) cheap brush from the hardware store for wetting out and for laying down the paste. I have added the refinement of using a brayer to remove excess water after the wetting out. Designs are then created using fingers or a variety of tools.

The tool on the left is a silicone potter’s tool. It was relatively expensive, but feels lovely in the hand! The one on the right is a cheap plastic tool from the paint department of the local big box hardware store. I also cut my own tools from styrofoam packing trays.
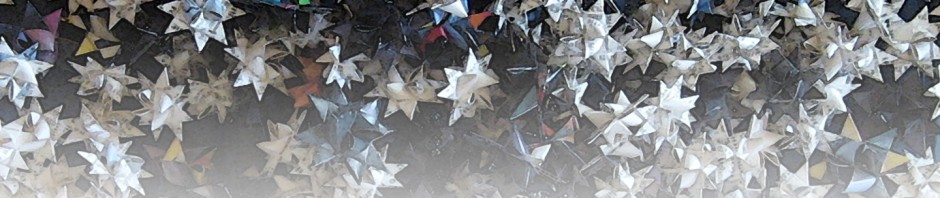
An enormous range of patterns can be produced using quite simple tools and found or modified objects.
Even if I am not planning to make patterns using my fingers, I use a barrier cream. I find that otherwise I end up with odd colours under my nails and staining my cuticles. It also means that my skin doesn’t go all soft and wrinkly if I am doing a large batch and getting my hands wet repeatedly rinsing tools and brushes.

Additional paint and/or other materials can be added to the whole page or just in small areas.

In my last batch of papers, I experimented with using stencils

and masking.

Masking was done by laying strips of paper onto the wetted out page. The strips stick to the damp surface. Stencilled designs were added after the initial paste layer was dry.

If you are interested in looking at more paste papers, there are interesting collections here and here. The second link includes a paste recipe and basic instructions.

Hi Cathryn:
Thanks for this information. I have been playing with paste paper for awhile, but have had difficulty with consistency. I have used wheat flour and tapioco starch. I’ll try some of these recipes and see what works best for me.
Have a great week.
Mary
LikeLike
I hope you find the right recipe for you. ;] Like a lot of things, the best consistency of paste seems to be a very personal choice.
LikeLike
Lovely papers! I like the grey one with the big red square especially intruiging, very different from what can usually be seen. Have you used it already?
LikeLike
No, which is why I still had it to photograph! The design repeats in reverse on the other end of the paper, so it should do nicely for a book cover. ; ]
LikeLike
Pingback: How to make cooked wheat starch paste | Byopia Press