
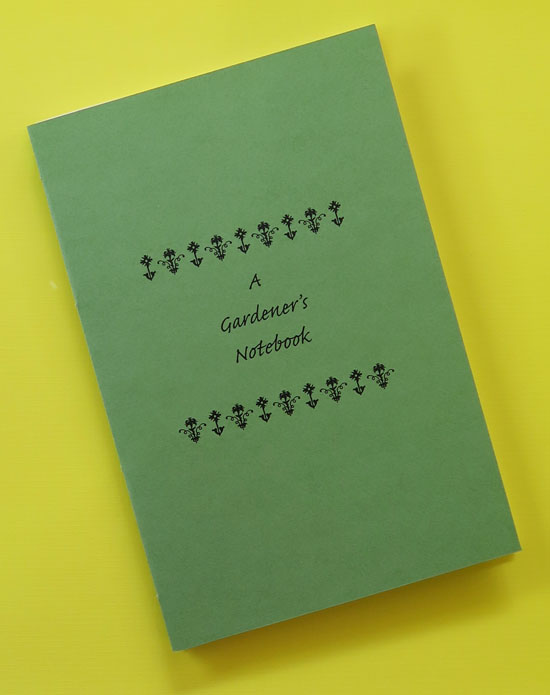
This week’s project is a simple notebook with many possible variations. It’s a suitable Father’s Day gift for someone who gardens.

Ideally all the papers for this project should be ‘grain short’. If you are binding a large text block this is critical. For this little notebook, it is not. No one will die if you use grain long paper because that is what you have.
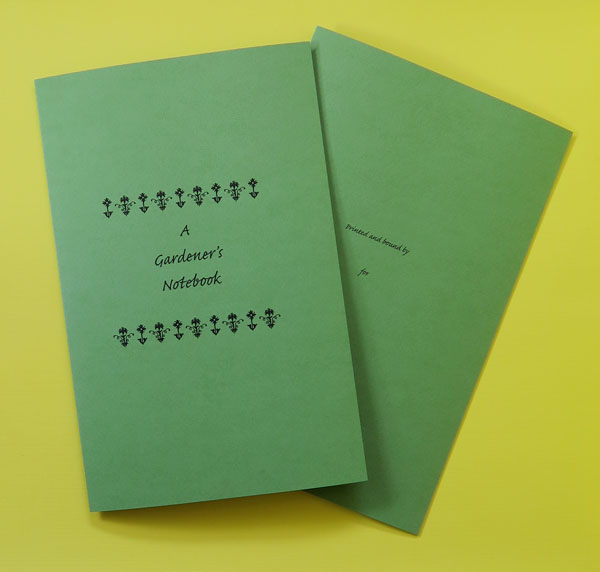
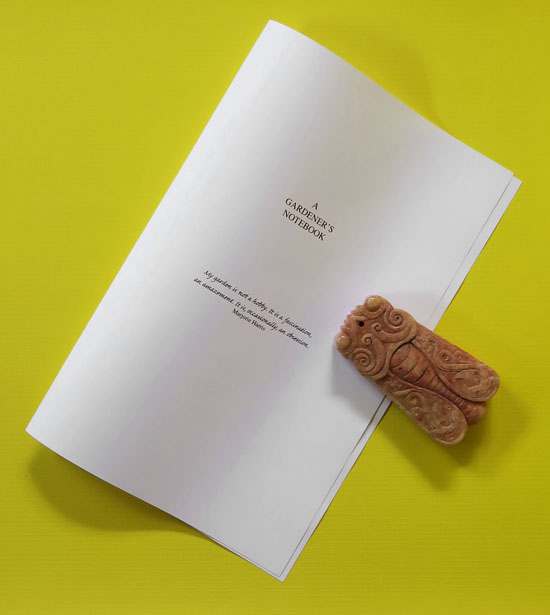
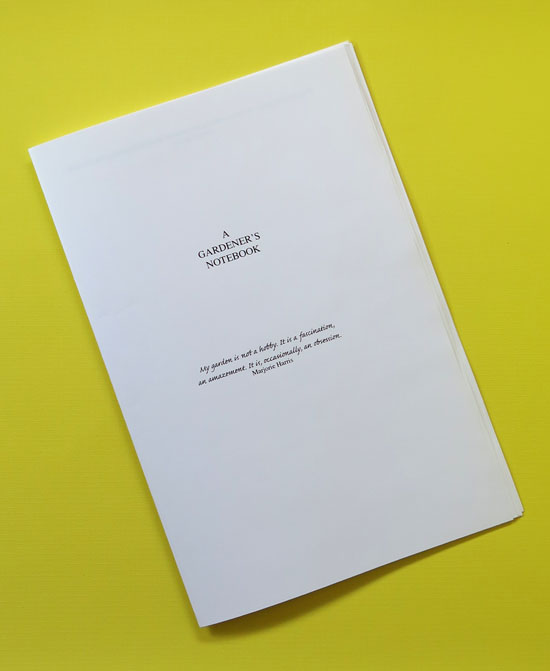
The cover file comes with two options. You can choose the more formal one,

or the less formal one.
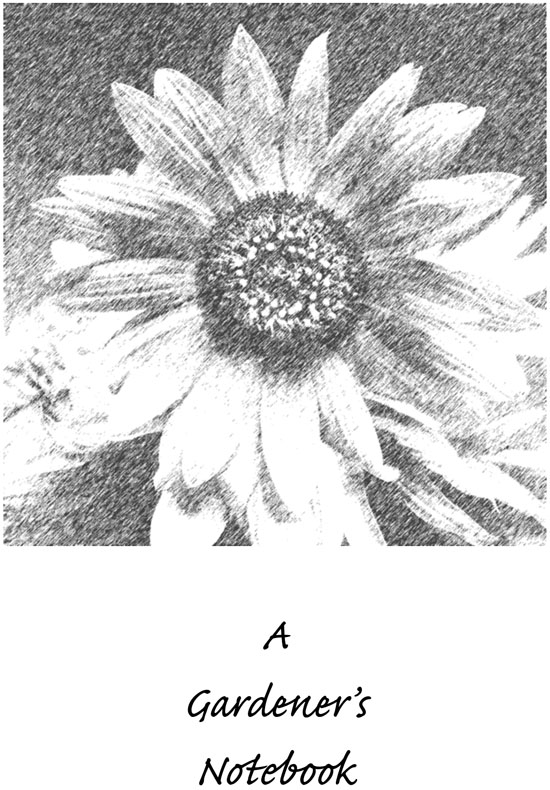
You can even hand colour the flower on the second version.

There are two versions of the cover pdf: one for A4 and one for 8.5 x 11 in. Print out sheet three and either sheet one or sheet two on card stock or other suitable paper. (The green paper I used for my covers is a Canson Mi-Teintes pastel paper.)
If your printer has wide built-in margins you will need to use the ‘borderless’ setting for your paper size to get the scoring guides to print. Use the ‘landscape’ setting.
Score between the guides and fold your two sheets so that the print side is out. Press the fold firmly. Set the covers aside for the moment.
The text pages for the notebook come in three signatures. For the A4 notebook, download and print signature 1, signature 2, and signature 3. For the 8.5 x 11 in version, download and print signature 1, signature 2, and signature 3. Use the same print settings as you did for the covers.
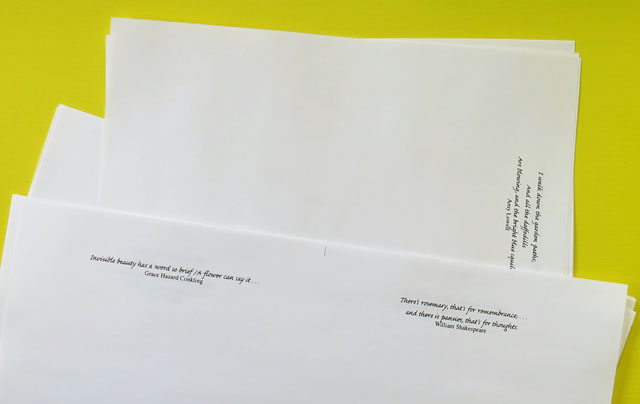
Variations are possible. When you score and fold your text pages, you can fold some with the text in. Although the first sheet of the first signature should always be folded with the text out, you can vary the direction of the fold on the other pages so that sometimes two blank pages face each other, and sometimes the facing pages both have quotations.
If your gardening recipient is likely to glue things into their notebook —catalogue pages, empty seed packets— you can interleave the full pages with stub pages to provide more internal space. (Click image below to see source article.)

If you add thick stubs, you might want to convert the three signatures to five. You can also increase the number of signatures by using more blank pages or some lined pages, or graph paper pages. (Print your own graph paper from this website.)
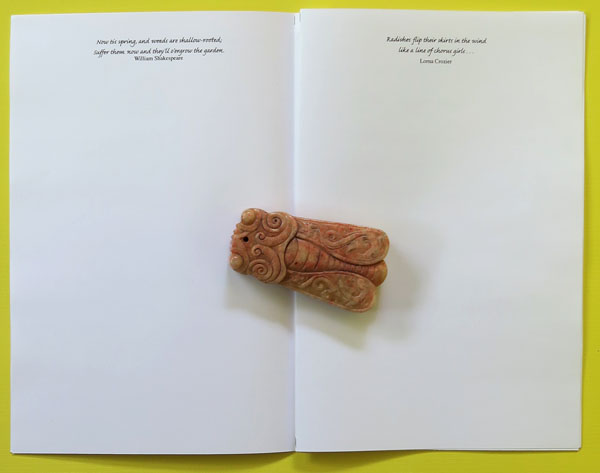
Score all sheets between the guides, then fold gently but do not crease firmly yet.
Assemble your signature, fold again, and crease firmly.
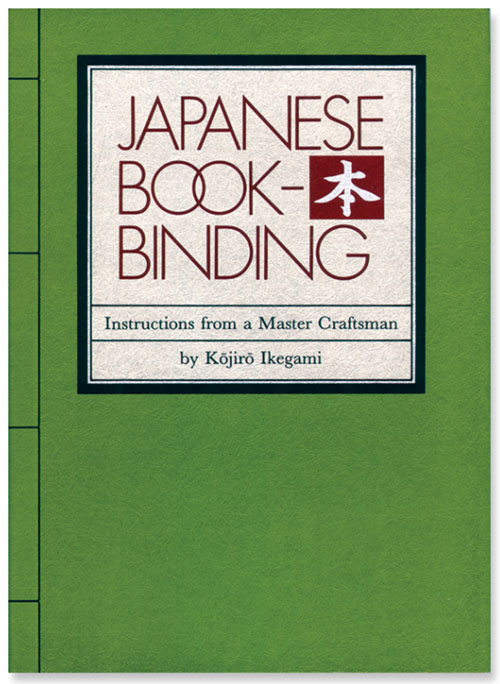
The sewing I used is based on the multi-section binding from Japanese Bookbinding. (If you don’t already own a copy, I highly recommend acquiring one. There are used copies available, or you can buy a new one here. You can read my review of the book here.)
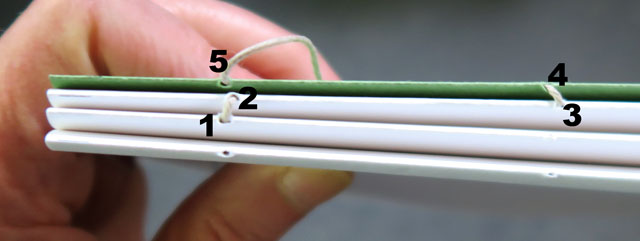
You will need four holes in the spine fold for the sewing. Make a guide for the holes, and pierce each signature. (Make sure your guide is the same way up each time.) If you don’t have a piercing cradle, you can work off the edge of a table or workbench. If you don’t have an awl, use a T-pin, pushpin, or darning needle to make the holes.
Pierce holes in the cover spines using the same template.

The approximate spacing of your holes and the direction of sewing is shown in this diagram from Japanese Bookbinding. (You can find the full chapter on multi-section bindings here.)
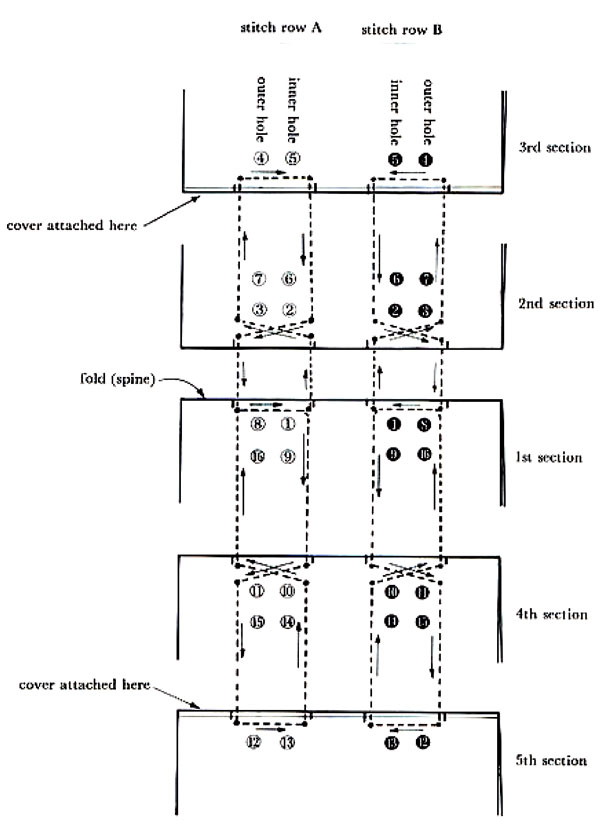
My direction of sewing started in a different hole, but the idea is the same. You begin on the inside of the middle signature, and all the long floats are on the inside. Make sure all your signatures are the same way up before you begin sewing.
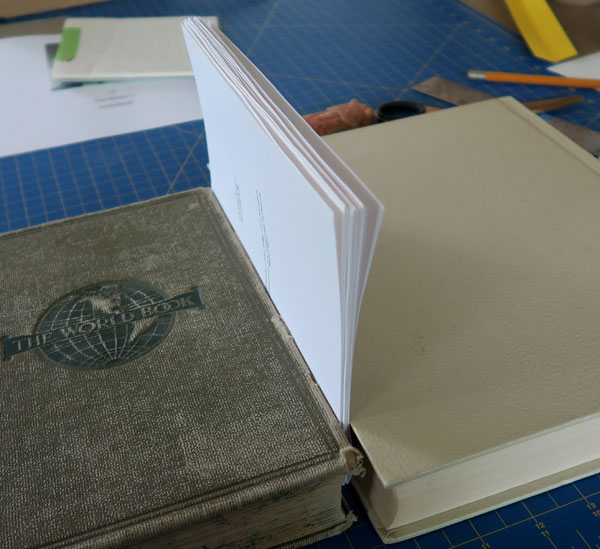
I changed things a bit by sewing the covers as additional signatures. I also used a heavier thread than is ideal so that it would show in the pictures. Here’s the inside of my notebook before trimming the ends.

Don’t worry if all your edges don’t align exactly when your sewing is done. The edges will be trimmed as the final step.
Once your sewing is completed, open your covers and apply adhesive to a broad strip at the top, fore-edge, and bottom of the inside. It works best to apply the glue to the inside page so that it is supported by the text block. You can put a sheet of waste paper between the cover and the text block if your are worried about transferring glue to the inside pages.

Close the covers and rub down firmly, then let dry/set under weight.
When the adhesive has dried/set, trim off about 0.6 cm/0.25 in at the top, fore-edge, and bottom. When trimming the top and bottom edges, always cut from the spine to the fore-edge. Don’t try to cut through the whole book at once. I used about fifteen strokes to cut through each edge of my notebook.
Fill in the blanks on the inside back cover and you’re done.
In other news:
![]()
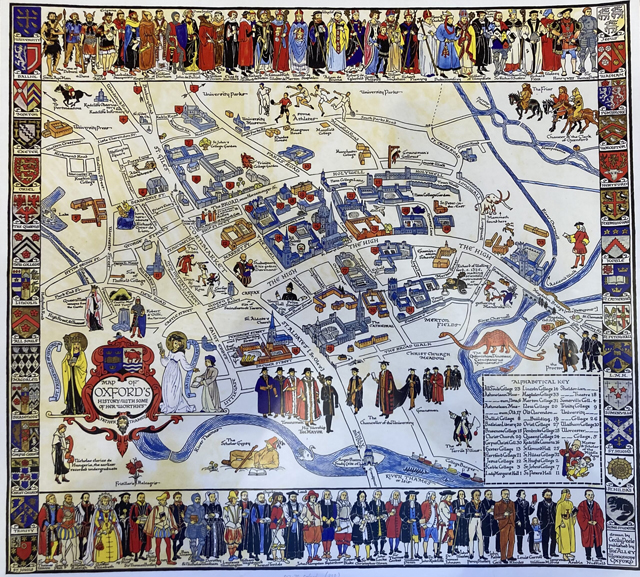
Those of you who have followed me for a while know I love maps, so it isn’t surprising that I enjoyed last Sunday’s post from The Oxford Sausage. The article introduces Cecily Peele, author, illustrator, mapmaker (1892-1984).
